Tag Archives: Valspar

The Living Room, Part 4

Ah, here it is. Finally… the (90%) finished living room. doneDoneDONE!

Well, except for that 10%… pictures need re-hung, vacuuming needs done again, and the carpet needs a professional cleaning… all of which need done before Thanksgiving, which is speedily approaching! I’ll give you more pictures when THAT is all finished, but for now, this will suffice. So… PICTURES!

And a few shoutouts! First of all, many many many thanks go out to my wonderful parents and in-laws. Without their help and work and babysitting, I would still be banging my head against my unpainted walls. Last weekend and the weekend before they really helped us pull through and get the walls to a point where we could finish them up ourselves. So THANKS GUYS!

Alright, seriously this time… Pics!
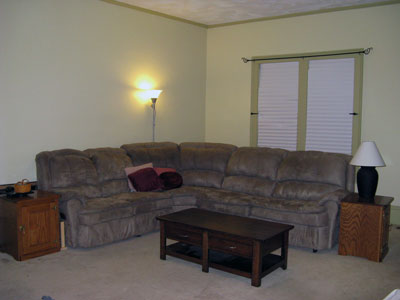
Pretty...
Pretty…

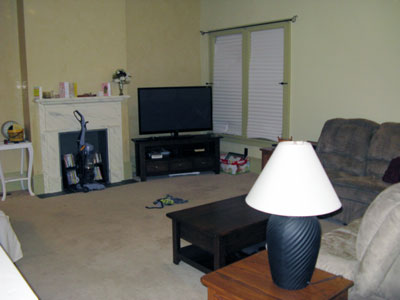
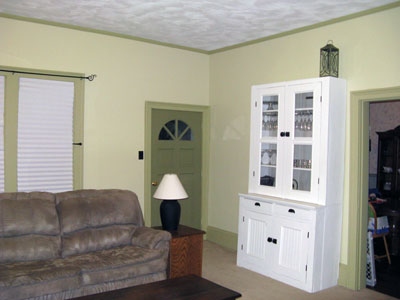
Ok, so this is what you see when you enter the living room! Notice I have no curtains yet… hopefully those will show up sometime this week (Yay Amazon Prime!) Two lovely shades of green (the walls are Fennel Splash by Valspar… I forget the trim name, but it’s just a shade darker on the same paint chip), and you can’t even tell in this picture the roughness of the walls! And they’re still pretty rough, despite a thick coating of primer and lots and lots of joint compound. Also, that couch is not right up against the wall – there’s a toy box width between the wall and the couch… You’ll see in a minute I suppose…

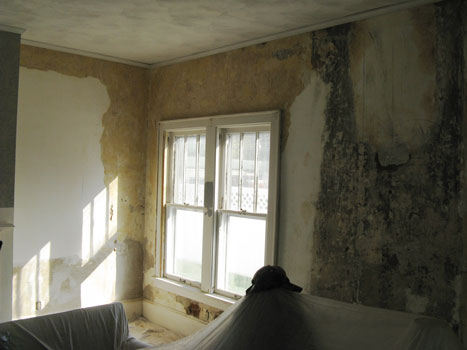
But first! A little “before” action…
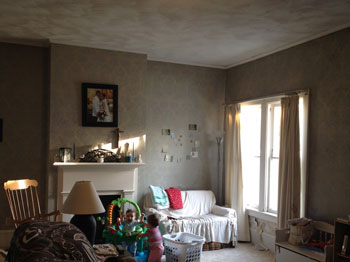
Eeeeeewwww...
Eeeeeewwww…

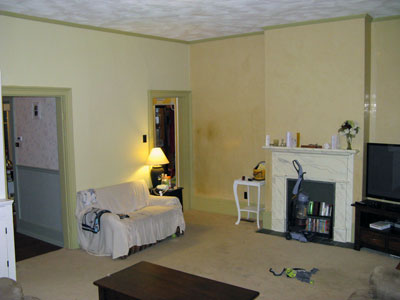
And now, “AFTER!”

Boom!
Boom!

Sorry, I know… the pictures don’t exactly line up. Ain’t no photographer here, folks. And check out that mantle… yes that mantle behind the vacuum cleaner (I TOLD you it needed done!). Is.. is that a marble mantle? Well, no, but it sure is convincing in the picture, isn’t it? That’s a faux paint job, via mi madre! Thanks, Mom! And notice the wall… eh, eh? You like? That’s the venetian plaster we were GOING to do in the entire room.
Next corner! I'm standing on that toy box I told you about...
Next corner! I’m standing on that toy box I told you about…

See how it’s variegated and has a reflective shine? No? Well it looks better in person. And in the daylight. In a way I’m glad that it didn’t cover all the walls, because A) it was expensive, B) it took longer than just rolling paint on the walls, and C) it looks fairly luxe, so having it all over the room would be a little too much. One accent wall is just perfect though.  OH! And I’m getting a new slipcover for that little couch there. The fabric on it is ’70’s special orange-green-brown-black combo, and I want that to be hidden from the world. It’s got good structure though, and a bed inside, so it stays… it just needs to stay covered. *Shudder*

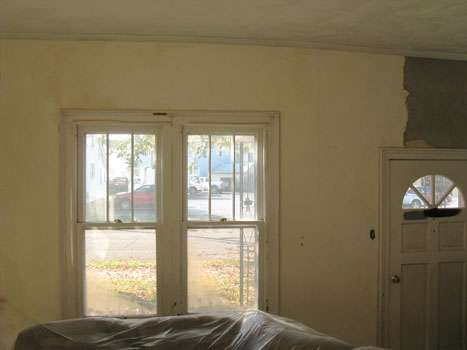
Another “Before”
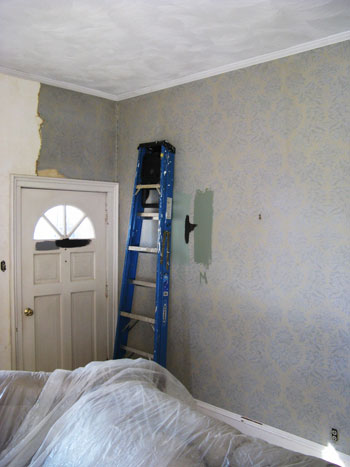
Wait for it...
Wait for it…

AFTER!

Viola! You like?
Viola! You like?

We painted the door inside and out a darker green still. I’m standing in front of the TV at this point.

*Sigh* And that’s that. Now I just have to worry about the finishing details, but those are much less stressful and can wait for when I’m ready to deal with them. I’m just so glad to have the room back.

So what do you think? Did I answer any questions on how I got from here to there? Let me know because honestly I can’t remember what happened from then to now at this point! We just put our noses to the grind stone to get it done, and you can’t see much from that vantage point! Hope you guys like it, and TTFN!


The Living Room, Part 3

When we last spoke of the horrors that were the living room renovation, I told you about all the magical wallpaper we were finding, not to mention all the holes we were uncovering. Today I’ll update you on where we stand on those walls (which is really hard to do, defying gravity and all), and tell you about a bonus room redo!

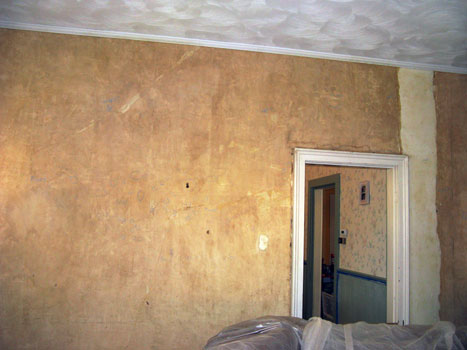
After taking a break from the scraping, the hubby (Mike) and I (but mostly Michael every night after work) found that things went much smoother, due to a better wall beneath, and more determination. We decided to take down ALL the wallpaper, and just start fresh. It was a good decision, and now he’s working on patching all the holes and cracks in the plaster. It just feels good to have it all down and to have a fresh wall to start over with.  So, lets take a visual tour, shall we?

Here’s the living room (think of it as a panorama… I guess)

Going...
Going…


Going...
Going…


Still Going...
Still Going…


GONE!
GONE!

 And yes, I know those are all different shots of the room, so you’re seeing different walls… I’m still trying to figure out how to take pictures for this thing. I’m not a photographer. I just don’t even think to take pictures, so you’re lucky you’ve got anything here.

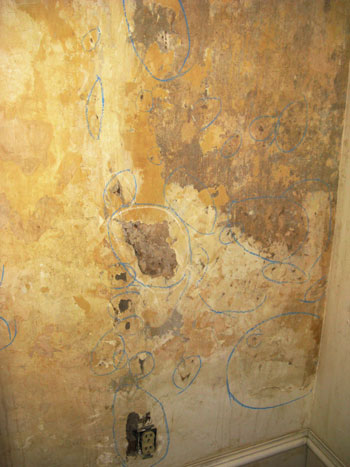
Ahem. Anyways…  After getting all of the wallpaper down, Mike went around and circled all of the areas that needed a bit of patching before we did anything with paint.

HiddenMickey
Find the hidden Mickey!

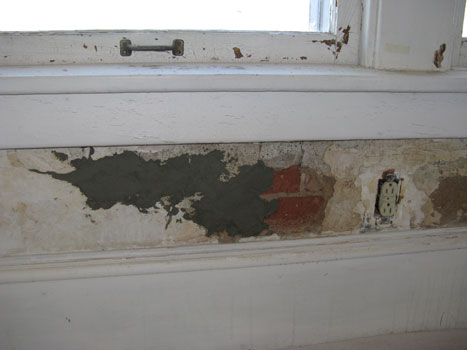
 And then he did some playing around with patching and filling in places with concrete (instead of trying to mess with replacing lath, or whatever it’s called).

Concretefix

And then we realized it was late and stopped for dinner and bedtime.


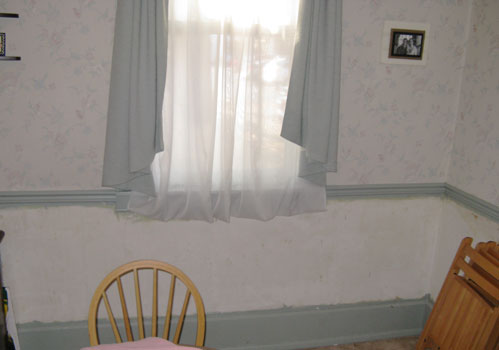
MEANWHILE… In the spirit of all this fixer-upper nonsense, allow me to direct your attention to our dining room. You see, two years ago, our then-puppy was feeling lonely on a day when we weren’t home, and wanted to play tug-o-war with something, he chose the wallpaper in our dining room. This irritated me greatly because I didn’t ever want to have to mess with the wallpaper in the dining room (or anywhere else in the house to begin with, but obviously THAT desire was unfulfilled). Fast forward to what we’re doing now, and I realize that, while we are peeling wallpaper and paining anyways, we might as well get the mess that is the dining room fixed.

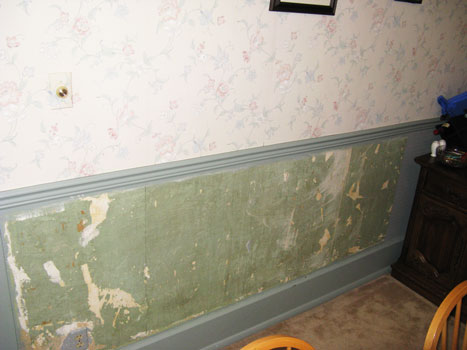
However, the wallpaper that was ruined covered only HALF of the wall, separated by a trim, so that’s the only paper that we had to fix. Yay! During snacktime one day this week, I started to pick at the paper that remained, to find that it came off like a breeze (which makes the dog’s massive destruction a little more understandable now). “Kids!” I shouted, “Wanna help me peel wallpaper?!?” They were more than happy to oblige; they felt like they were helping. And they really did! It was that easy to take off! Here’s what was underneath.

Diningbefore2 Diningbefore1

(The initial excitement at the easy-peeling paper is why you don’t have a real ‘before’ pic. Sorry. Again with the not being a picture taker kinda person, thing)

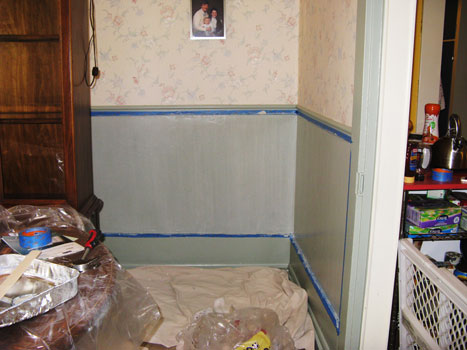
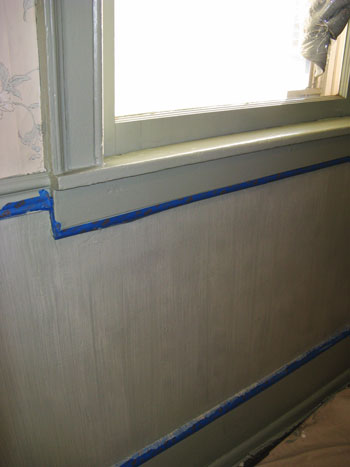
Now, because I liked the colors to begin with, and didn’t want to have to mess with changing the top wallpaper, (I wanted this done and overwith in a weekend, people) I just found the color that matched the trim, and, after putting down a layer of primer (and a small patch job), we re-painted the trim and the whole lower part of the wall the same color. Eucalyptus Leaf by Valspar, if you must know. It’s nice. Then, because just a flat paint really showed off all of the flaws in the wall, and simply looked unfinished, we got a glaze just a shade lighter and used a dragging technique to make it look a bit like wallpaper. Here’s how it turned out.

Diningpaint2 DiningPaint1

Obviously, it’s not finished finished yet, but the paint is still wet as I write this. That’s why it’s still a bit shiny. After we get the tape off, and all the furniture back where it belongs, I’ll be sure to show you… NEXT TIME! HA!

In the meantime, I’ll be researching what to do with the living room paint colors. I know we are going to use a venetian plaster finish, but beyond that… um… HELP! Anyone have any ideas? I have a taupe couch, a set of richly stained cherry furniture, and everything else is black and white. I like greens, but I’m open for suggestions! Let me know in the comments what you think!